I can repair or upgrade your Studio 1558 (and other models, too)
As you can see from my many previous posts about the Dell Studio 1558 notebook, I can perform just about any repair or upgrade you might want:
- Replace broken lid / hinges / power button
- Replaced cracked or otherwise broken display screens, either with same type or an upgraded one – contact me for a free part compatibility check as some conversions will be more expensive than others
- Repair or replace broken keyboard keys or trackpad buttons
- Replace standard keyboard with backlit version or vice versa
- Replace a keyboard in one language with one in a different language – most languages are available
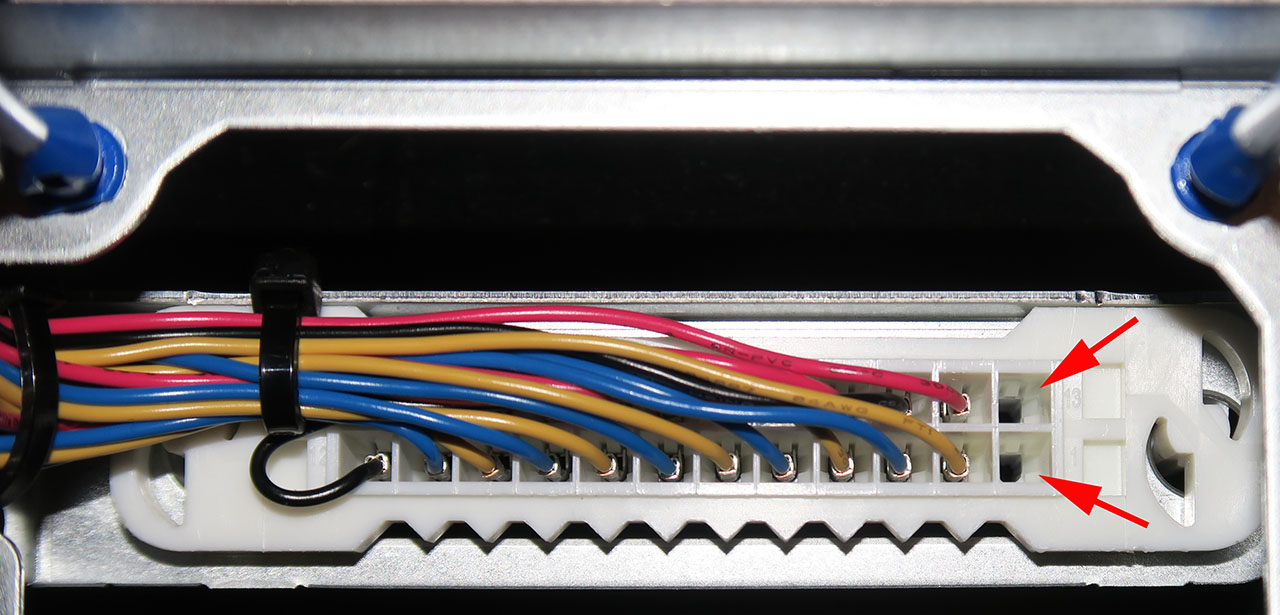
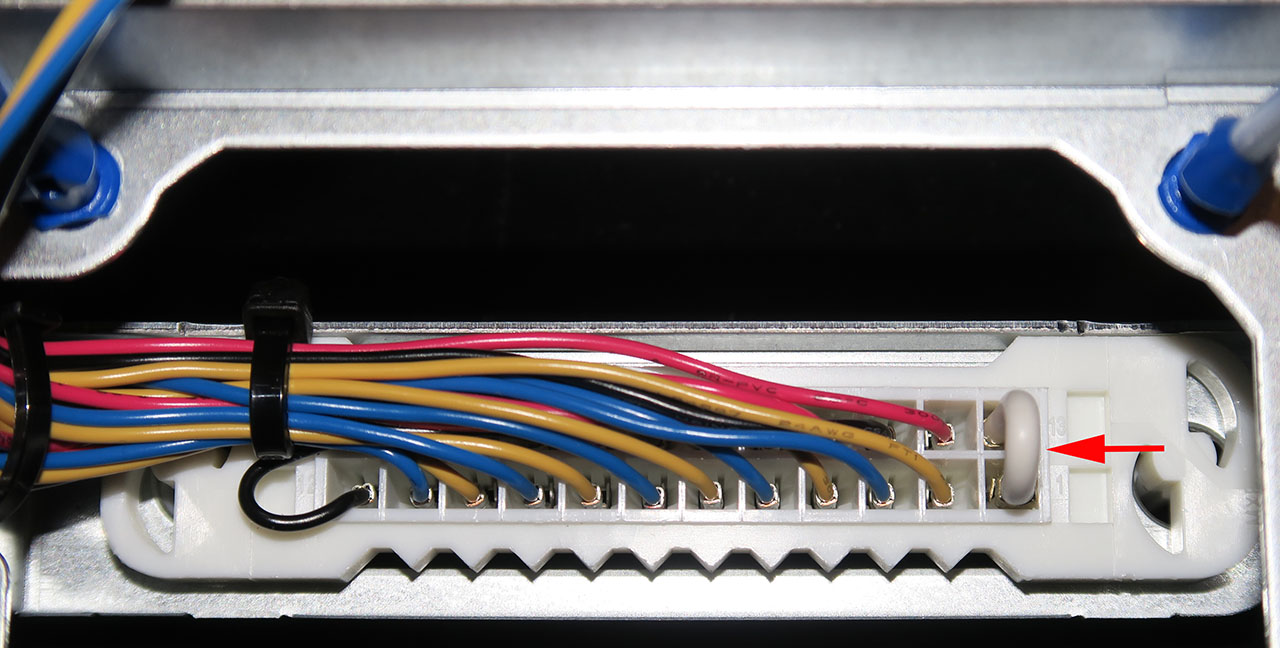
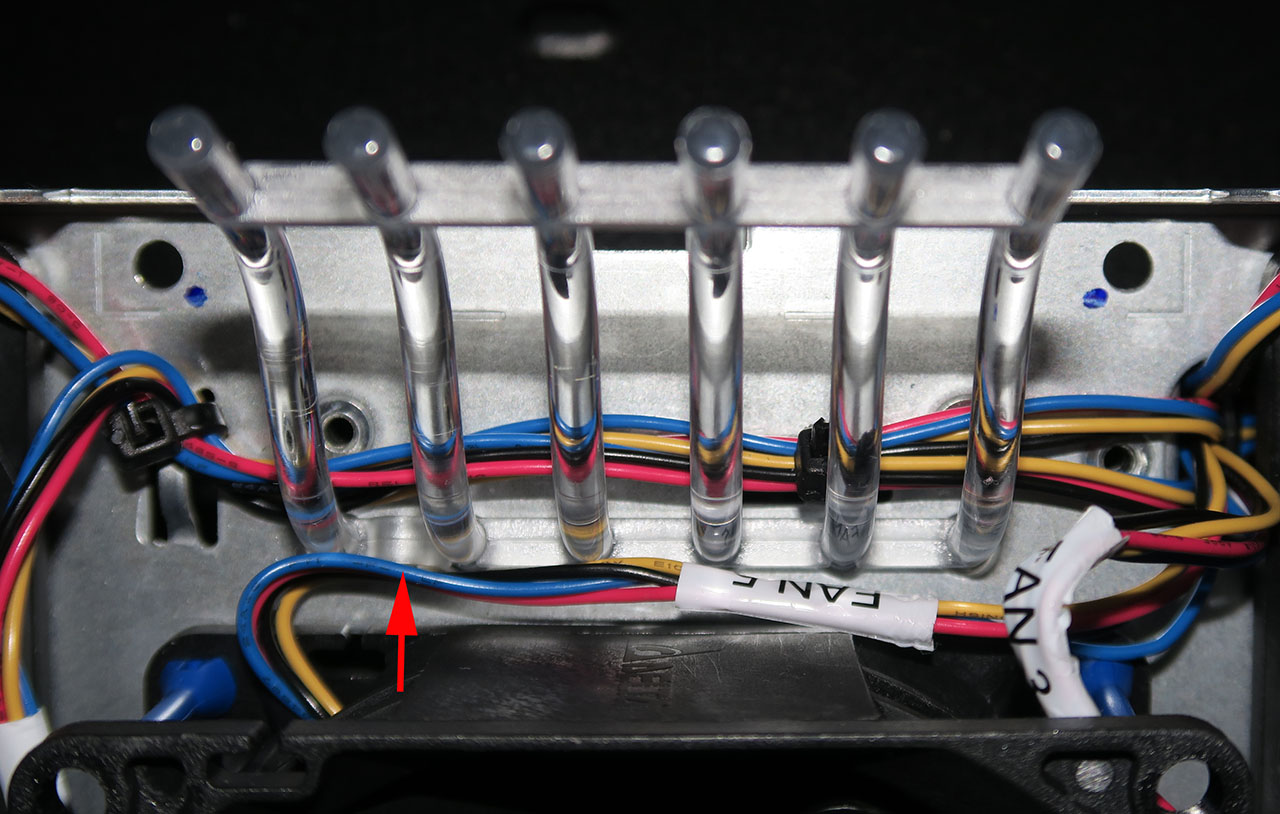
- Repair broken connectors (power, USB, video, etc.)
- Fix overheating systems
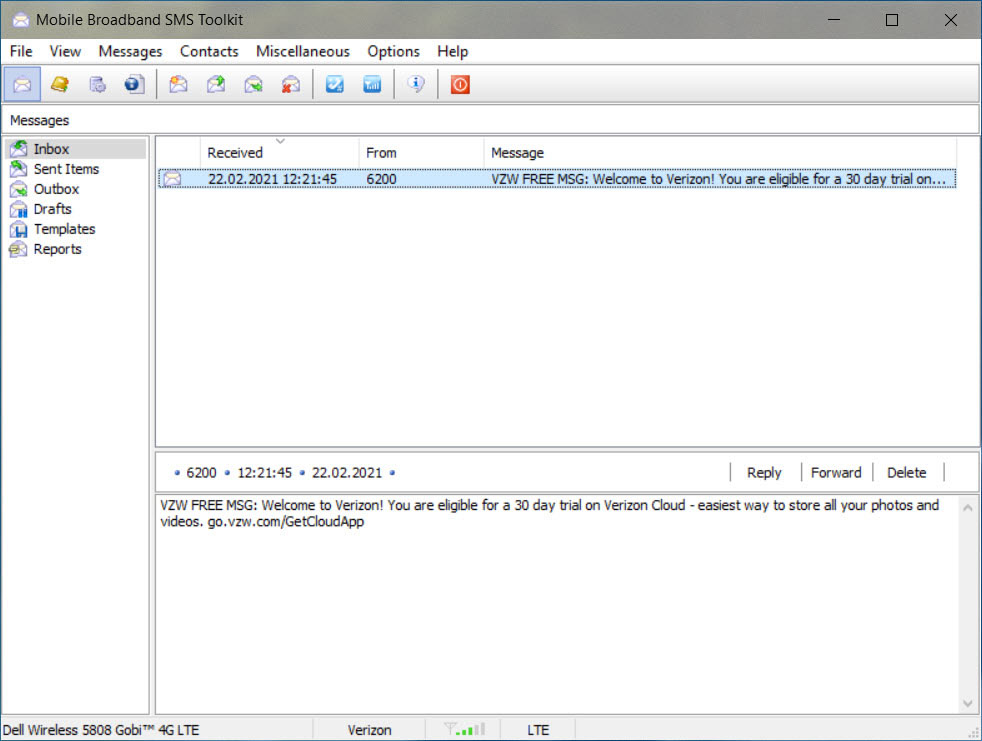
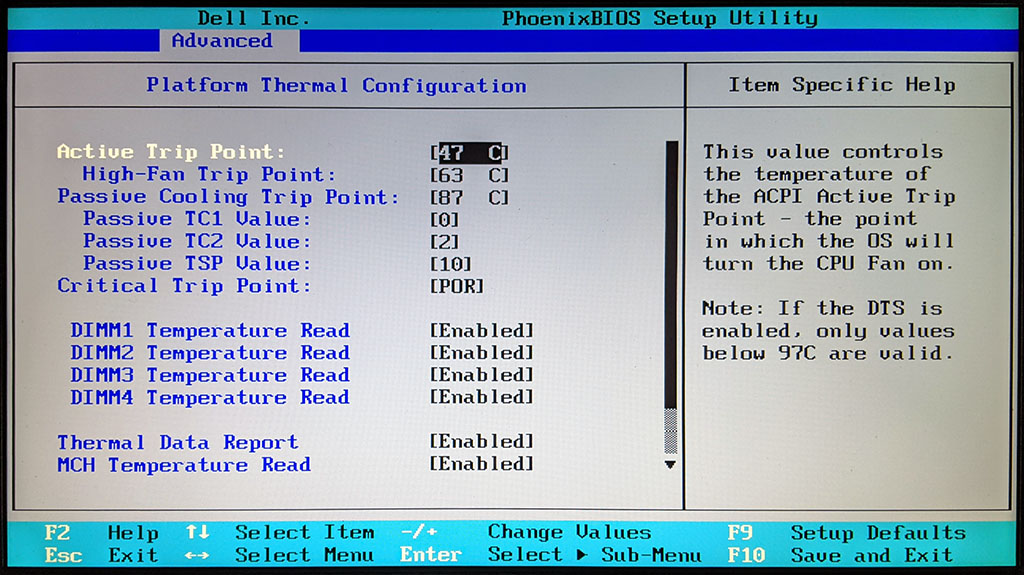
- Install BIOS with unlocked advanced menus
- Replace hard disk drive or install a SSD (with all of your software and files copied over)
- Conversion of various 1555 and 1557 models to 1558 models – frankly, with the low parts pricing I offer for 1558 work, you might as well go directly to the top-of-the-line 1558 configuration of your wildest dreams. I’ll reuse as many of the parts from your 1555 or 1557 as I can, to keep your costs low
- Any upgrade at all – see my post “The Ultimate Studio 1558” for ideas
- Have a cracked or scratched lid, or just tired of the style you have? Let me swap it for you! Many styles are available
- Replacement 6- and 9-cell batteries available new from a trusted manufacturer in China, with a 1-year warranty on new replacement batteries as long as an appropriate Dell charger is used
- Operating system installations (limited to clean installs – back up all of your data first or buy a new SSD and get your old drive back with a USB adapter if you desire)
I have a huge collection of spare parts, both new and used, as well as complete systems in a variety of configurations.
Service will typically be between $50 to $100 plus the cost of any needed parts (at great discounts!) and insured return shipping to you. A repair evaluation is free as long as you pay for insured return shipping. I can also provide estimates based on your description of the problem and pictures you provide, but be aware that “sight unseen” estimates are just that – estimates. The actual cost might be higher or lower once I evaluate your system in person.
I can also provide some repairs and upgrades for the Studio 153x models, but inquire first to make sure I have the needed parts on hand, as most of the 155x parts are incompatible with the 153x parts.
My standard warranty for repairs made with my “used recertified” parts is 60 days for the recurrence of the same problem and 120 days for repairs made with my “new” or “new old stock” parts. If a repaired or replaced component fails within that time period, it will be made right by me at no charge other than your cost to ship the system back to me – I cover the shipping and insurance back to you in this case. Any parts replaced under my warranty are warranted for the duration of my original warranty plus an additional 10 days as a goodwill gesture. So, if you have a repair with a 120-day warranty and it fails after 100 days, when your system is returned to you it will have 30 days of warranty left when you receive it – 20 carried over from the original 120-day warranty plus 10 days of goodwill warranty.
If you decide to provide your own replacement parts for me to install, you assume all responsibility for their proper functioning. Such repairs carry a 30-day warranty, solely on the work I performed, and there is no warranty on customer-supplied spare parts. I will endeavor to test your replacement part before installing it, but please understand this is a “reasonable effort” test and I might not discover all problems with your replacement part.
In no extent is any warranty to be construed as applying to the complete system unless you specifically purchased a rebuilt whole system from me – it is a parts and labor warranty for only the parts and labor performed and itemized on the repair invoice.
Feel free to contact me at: 1558repair@glaver.org
Instead of shipping your system to me, you can also drop off and/or pick up at our Hudson County, NJ location at no charge. Such appointments must be scheduled in advance for a mutually agreeable time. There is excellent service from many major bus lines and the PATH train (between NY and NJ) with stops near my office. Details can be provided if you tell me where you are coming from when you arrange the drop off of your system. This is only drop off and/or pick up service – business rules prevent me from allowing you to watch your system being worked on or waiting while it is serviced.
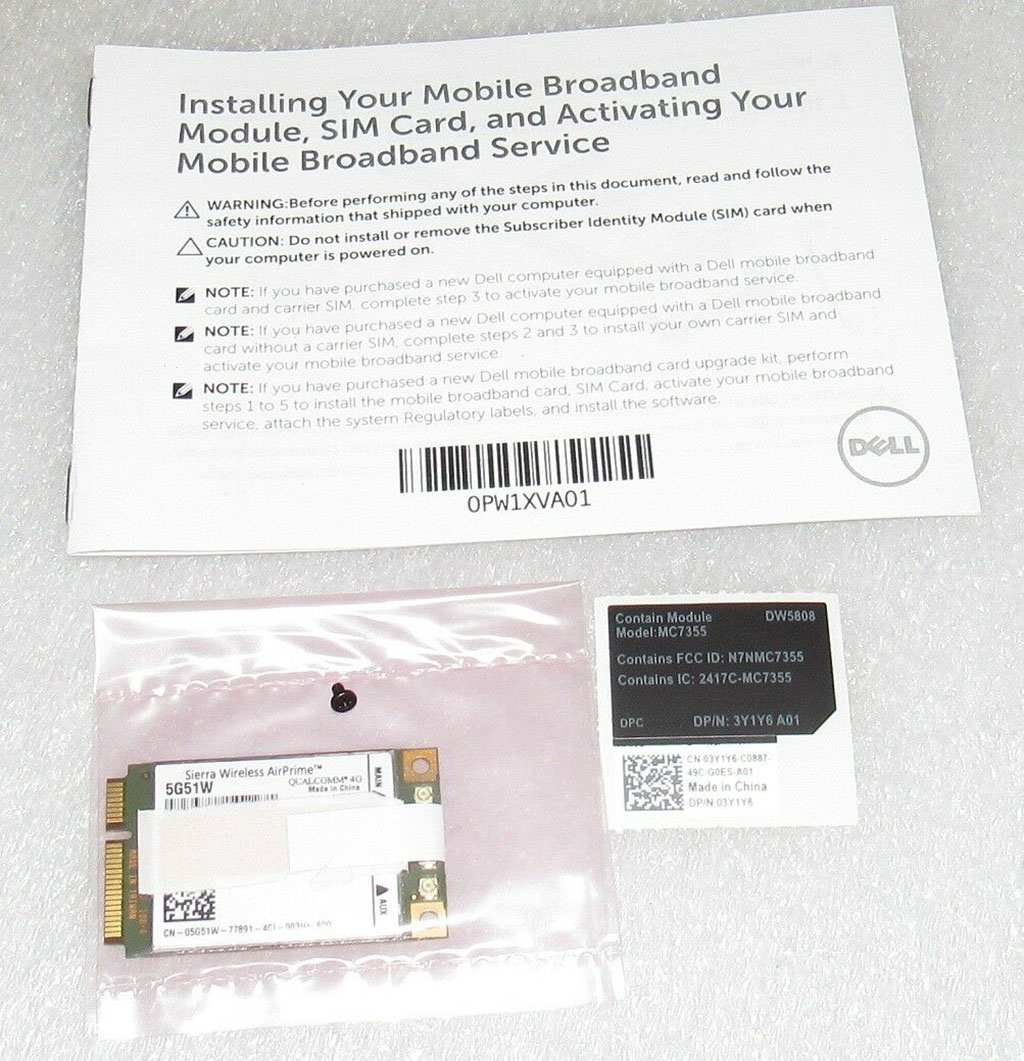
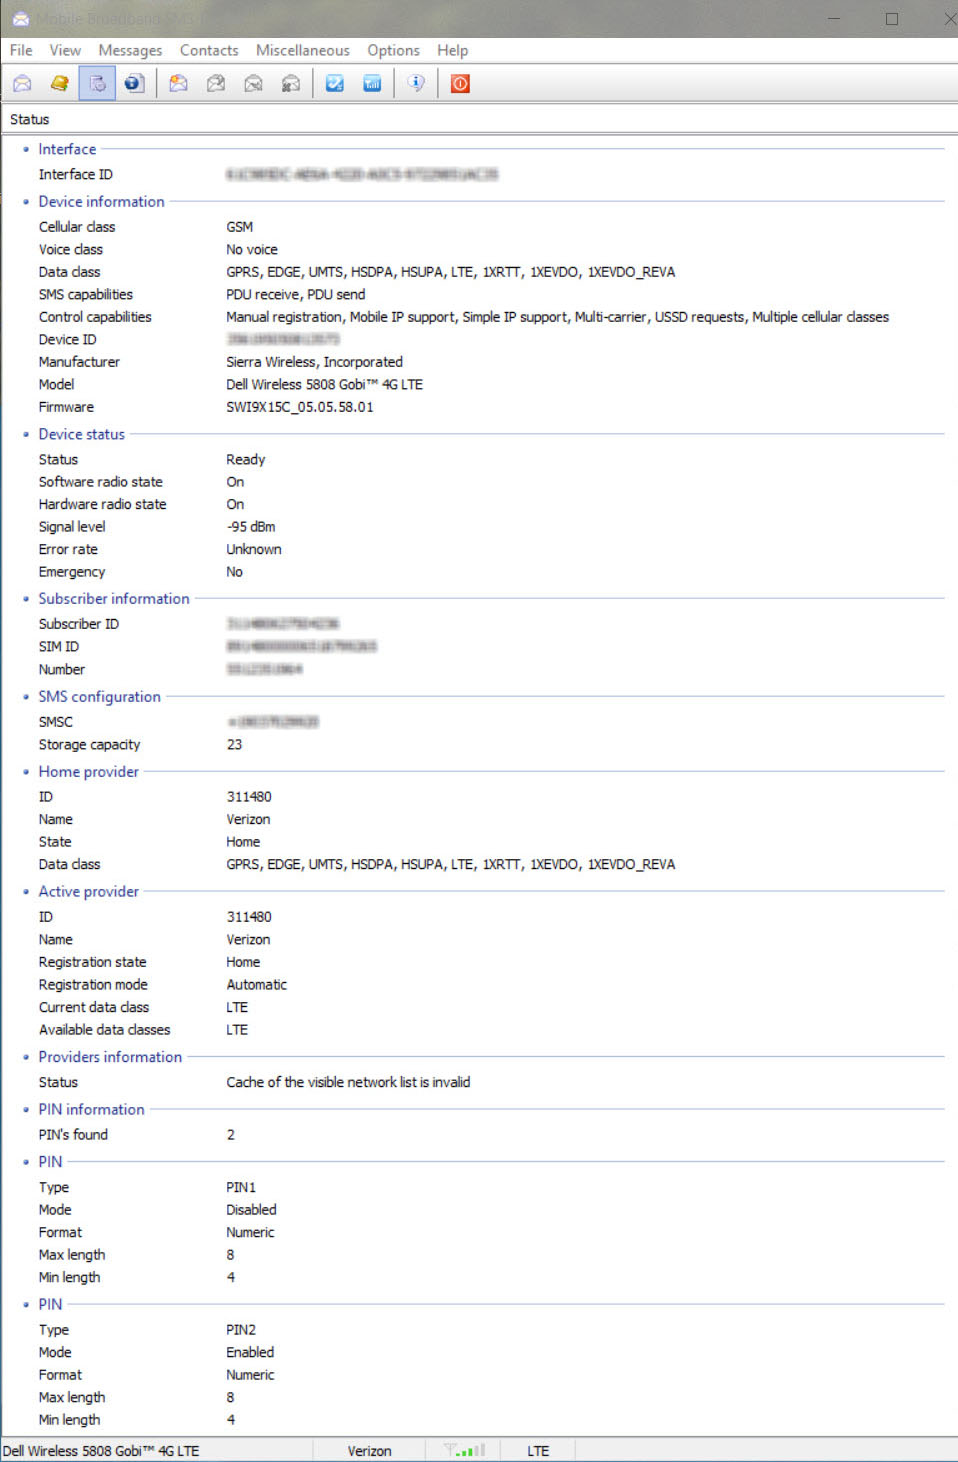
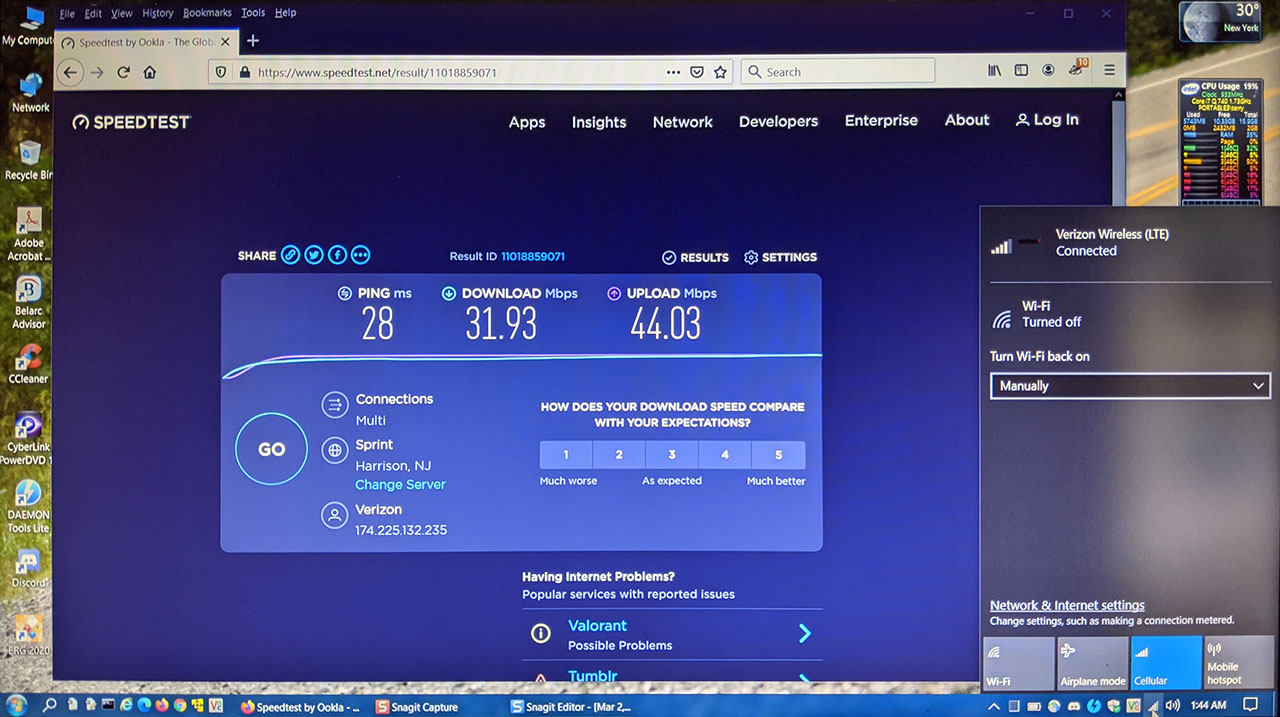
I generally do not sell individual parts, only a complete repair service. However, I usually have a limited number of certain parts available for sale: Scratch / dent / cracked lids, all guaranteed to be fully functional but not cosmetically suitable to be used for my repair purposes; various older models of WiFi / mobile broadband cards, etc.
IMPORTANT NOTE: If requested, operating system installs will be done with a legitimate disc and serial number, either sold by me or provided by you. I do NOT offer “cracked” or pirated Windows installations.